Create Planet Posters
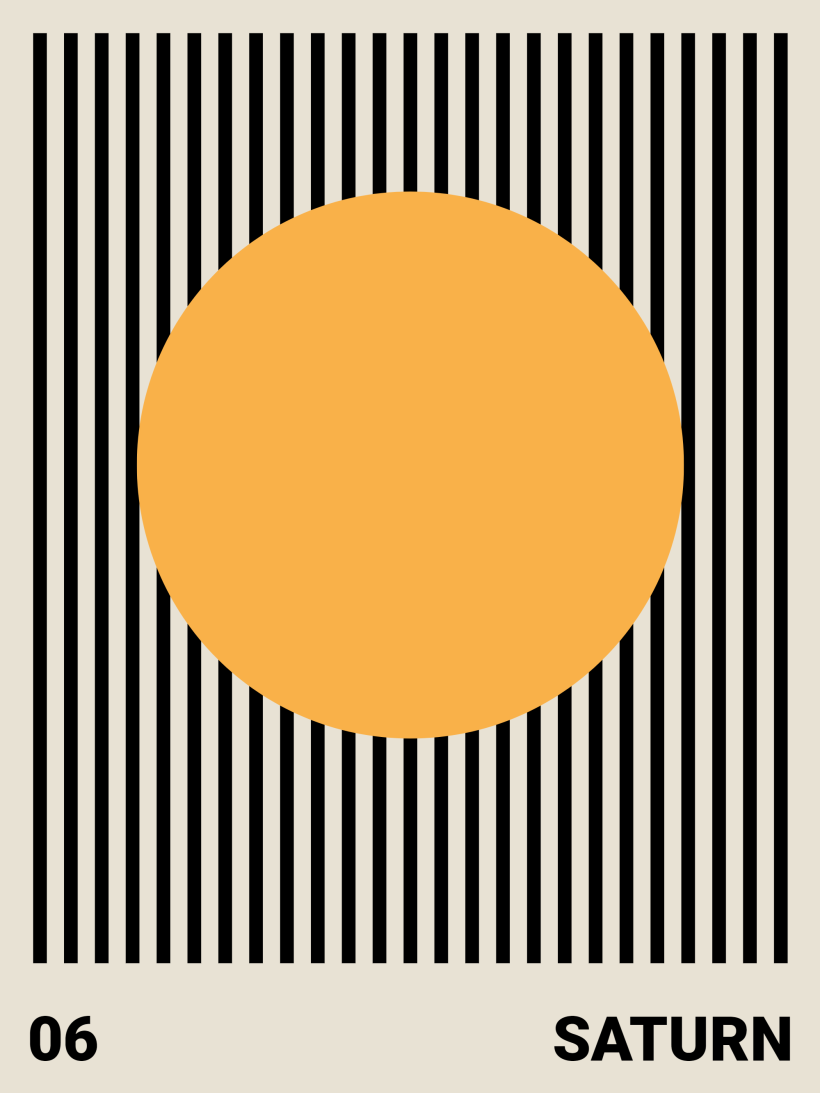
In the last article, I covered how to create a Bauhaus Poster with HTML and CSS. Now let us try to recreate a Saturn and Earth planet poster from DESENIO.

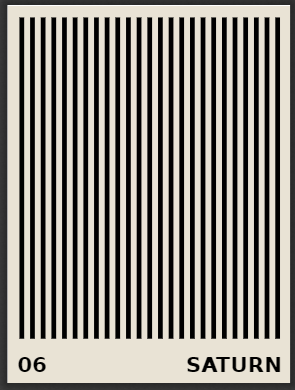
The HTML code is tiny. All we need is a div element for the circle and some elements for the black vertical lines. I decided to use 25 list elements for the lines.
<ul class="flex-container">
    <li class="flex-item"></li>
    <li class="flex-item"></li>
    <li class="flex-item"></li>
    <li class="flex-item"></li>
    <li class="flex-item"></li>
    <li class="flex-item"></li>
    <li class="flex-item"></li>
    <li class="flex-item"></li>
    <li class="flex-item"></li>
    <li class="flex-item"></li>
    <li class="flex-item"></li>
    <li class="flex-item"></li>
    <li class="flex-item"></li>
    <li class="flex-item"></li>
    <li class="flex-item"></li>
    <li class="flex-item"></li>
    <li class="flex-item"></li>
    <li class="flex-item"></li>
    <li class="flex-item"></li>
    <li class="flex-item"></li>
    <li class="flex-item"></li>
    <li class="flex-item"></li>
    <li class="flex-item"></li>
    <li class="flex-item"></li>
    <li class="flex-item"></li>
</ul>
<div class="circle"></div>
The CSS code is equally easy. First, let’s decide on a font for the planet name and number in the footer. Then we define the page size, margin, and background color.
The name and number get added via the bottom left and right page margin boxes.
@import url('https://fonts.googleapis.com/css2?family=Roboto:wght@900&display=swap');

@page {
    size: 30cm 40cm;
    background-color: rgb(233,227,213);
    margin: 1cm 1cm 4cm 1cm;

    @bottom-left {
        content: "06";
        font-size: 64pt;
        font-weight: bold;
        font-family: "Roboto", sans-serif;
    }

    @bottom-right {
        content: "Saturn";
        text-transform: uppercase;
        font-size: 64pt;
        font-weight: bold;
        font-family: "Roboto", sans-serif;
    }
}
Now all that’s left is designing the lines and the circle. The UL element gives a display property of flexbox and set justify-content to space between so the lines are equally distributed.
.flex-container {
    padding: 0;
    margin: 0;
    list-style: none;
    display: flex;
    justify-content: space-between;
}
The LI elements, so the lines themselves, get their background color and size.
.flex-item {
    background: black;
    width: .5cm;
    height: 34cm;
}
In the circle, we position absolute in the center. Why do we position it 4 cm from the left? Because left and right, we have a page margin of 1 cm, and the circle should be 20 cm wide. So it is 30 cm (page width) - 2 cm (page margins) - 20 cm (circle width) = 8 cm / 2 (left and right).
.circle {
    position: absolute;
    left: 4cm;
    top: 6cm;
    width: 20cm;
    height: 20cm;
    border-radius: 100%;
    background-color: rgb(249,177,73);
}
You can try the code directly on the PrintCSS Playground or view it on GitHub.
#Change the Planet
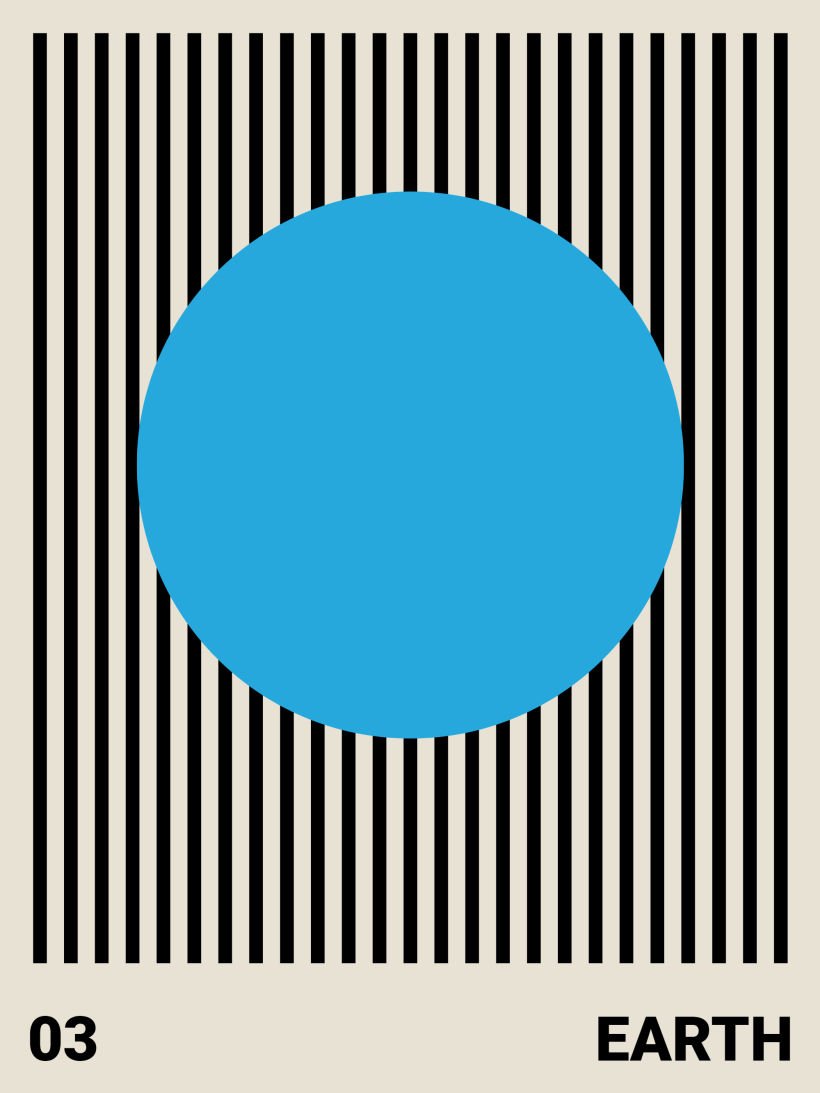
To change from Saturn to Earth, we need to change the footer text, number, and circle color.
@bottom-left {
    content: "03";
    font-size: 64pt;
    font-weight: bold;
    font-family: "Roboto", sans-serif;
}

@bottom-right {
    content: "Earth";
    text-transform: uppercase;
    font-size: 64pt;
    font-weight: bold;
    font-family: "Roboto", sans-serif;
}
The code for that is also available via Github and printcss.live. You can watch me recreate both of the Posters on YouTube too.
